Food & Garden

From My Garden | Radishes

July 13, 2015

Everything Golden

Mexican Inspired Slaw

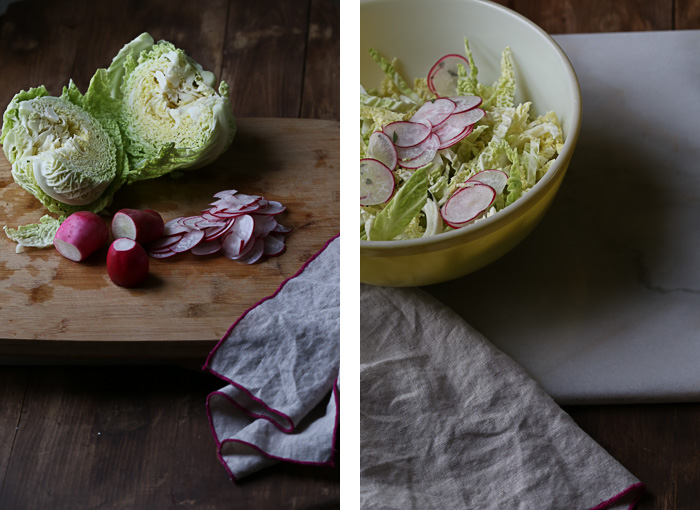
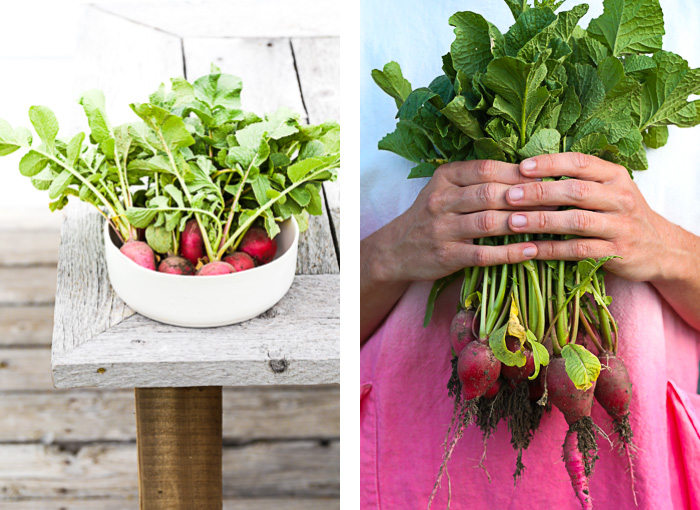
This is a good recipe if you need to use up some garden veggies; and in my case its radishes. I mentioned in a previous post that this summer I limited my radish count to one small row only about 4 feet long. I had plenty for garnishing salads, snacking and then some. So to use the remainder of my harvest, I decided to make a Mexican inspired slaw.

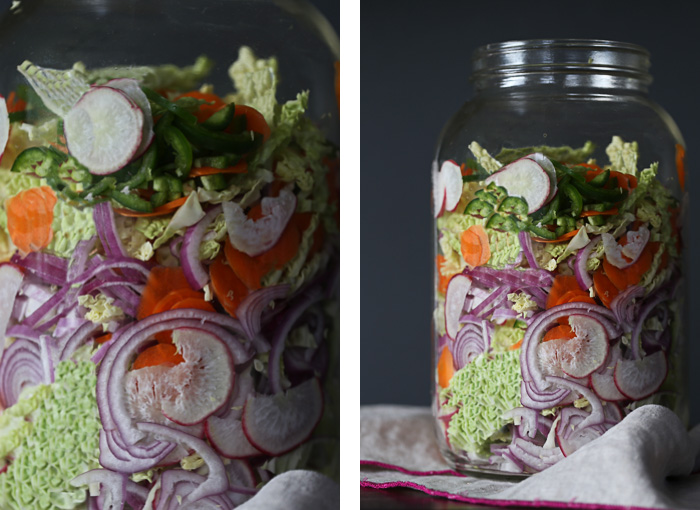
It’s a simple recipe, basically your jar is a catch can for all your favorite vibrant veggies. You let them marinate in a vinegar base for a minimum of 4 to 6 hours; the longer you can wait the better! I keep my jar in the fridge for a couple days and use the slaw for different dinners throughout the week.

Juicy beef burgers topped with avocado and slaw. Blackened cod fish tacos garnished with slaw. Nachos covered with slaw. You get the gist!

radishes

Ombre

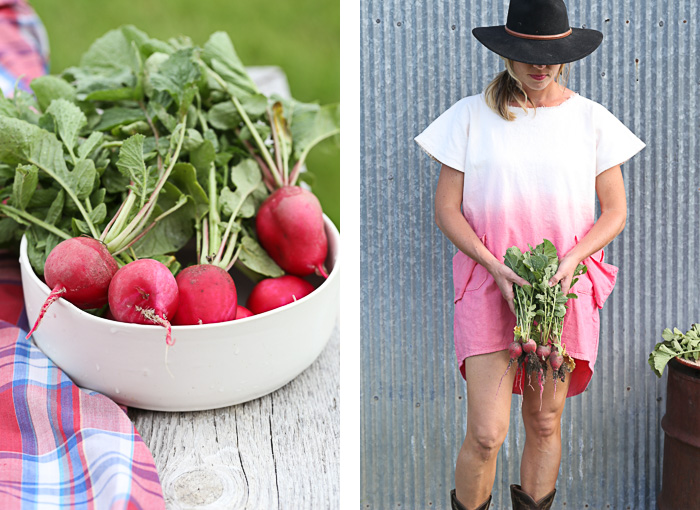
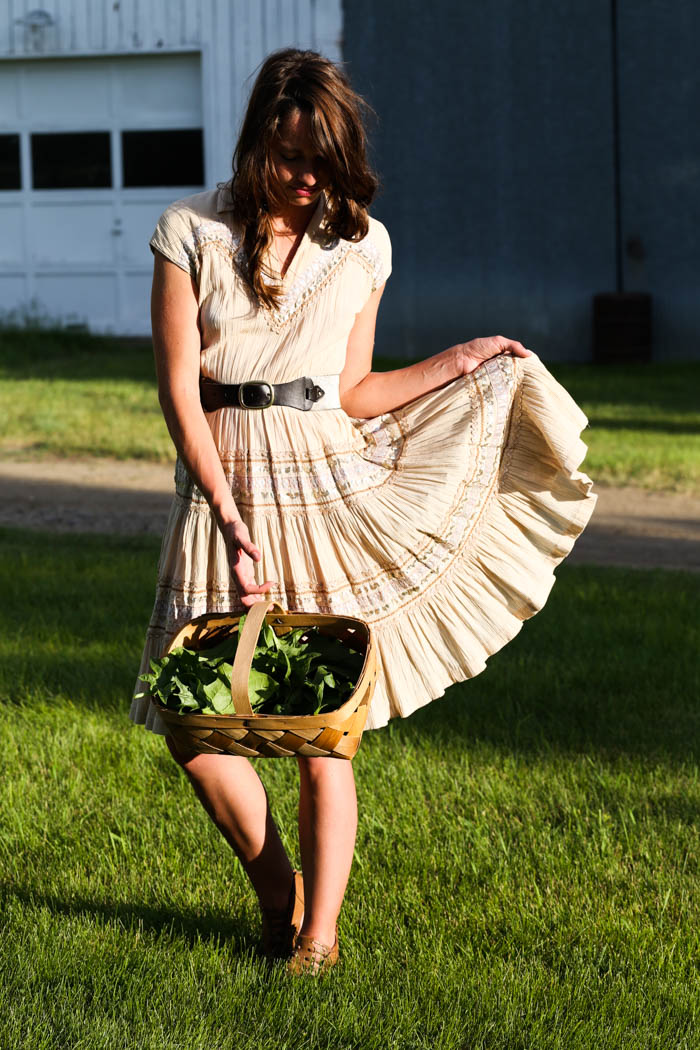
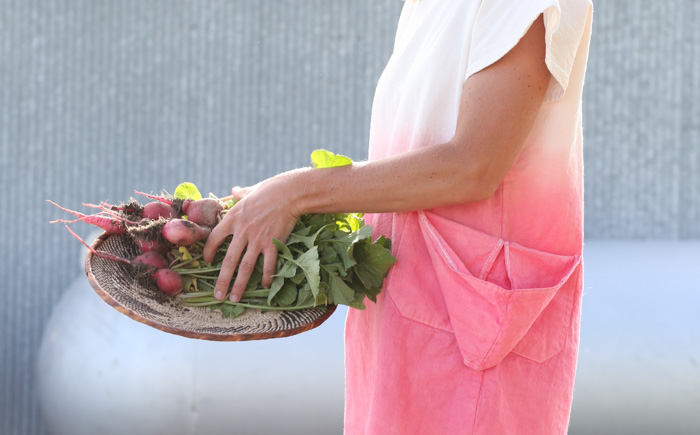
This handmade Soleri dress selected by Everything Golden is a dream. Throw on anytime, any day. Wear with leggings and a sweater in the cool air or simple sandals or barefoot in the heat. It’s the perfect companion for gardening and foraging. Extra large pockets will hold plenty! It’s handmade in Asheville, NC by Shelter. The fabric is an easy to wear woven cotton that has the feel of linen without the wrinkles. One size fits all (or most)! For sale here.

Mexican Inspired Slaw

WHAT YOU’LL NEED

1 savoy cabbage
1 red onion
1 jalapeño, seeds removed
2 carrots
7 radishes

2 cloves garlic
1/2 tsp. cumin seeds
1 tsp. coriander seeds
1/4 c. granulated sugar
Zest of 2 limes
1 tsp salt and pepper
11/2 c. white distilled vinegar

HOW TO MAKE IT

Thinly slice cabbage, red onion and jalapeño. Thinly slice carrots and radishes (I used a mandolin). Place all veggies into a 4 quart (1 gallon) glass jar with a lid. I use my sun tea jar.

Turn stove top to medium heat. In a medium sauce pan, add grated garlic, lime zest, sugar, salt and pepper and vinegar. Using a mortar and pestle, grind cumin and coriander seeds. Add to vinegar mixture and whisk until sugar is dissolved. Remove from heat and allow to cool for 20 minutes. Pour over veggies. Seal, shake and wait!

Mexican Slaw

FIELD DINNERS | COOPER HEREFORD RANCH

July 6, 2015

Morels and Garlic Scapes

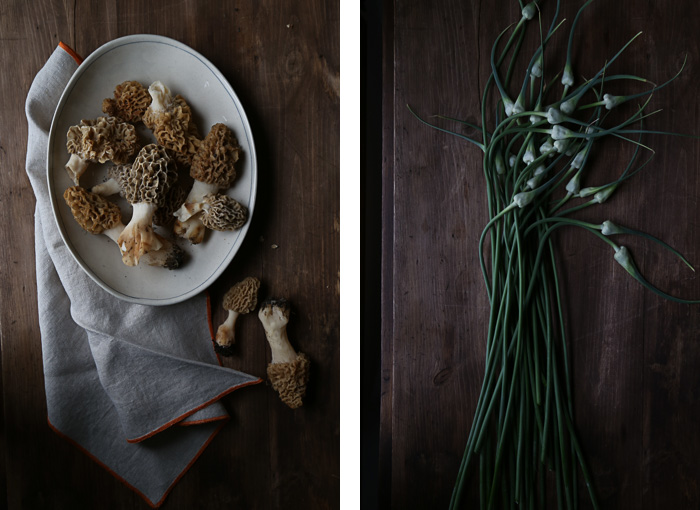
I have been so busy lately that I have barely expressed my excitement for another round of Field Dinners at the Cooper Hereford Ranch this summer. We had so much interest last summer that I decided to add one more dinner to the schedule. So this year, there will be two dinners by two different chefs. The first dinner will be held on Wednesday evening July 22nd. Chef Eric with Free Range Kitchen will be joining us this year for his first dinner at the Ranch. To purchase your tickets email howdy@freerange.kitchen. The second dinner will follow a couple days later on Sunday evening July 26th. Chef Mel with Seasonal Montana will be returning with her warm and light-hearted staff. Purchase tickets here for Chef Mel’s event.

All guests will dine al fresco under 100 year old willow trees and experience an environment that aesthetically and gastronomically defines the Farm to Table concept. A menu featuring Cooper Hereford Beef and other locally produced food from farmers and ranchers we know and trust. Unfortunately, Certified Hereford Beef has not made is way to Montana markets yet. You can see a map here that shows where you can buy Certified Hereford Beef. So I guess what I am trying to say is this event is a good opportunity for you to sample some quality Hereford Beef. 

There has been a lot of interest and the events are almost sold out so please purchase your tickets now so we can save you a seat at the table. Please share this event with friends and family or just bring them along to eat Hereford beef, support local agriculture, and enjoy the outdoors!

Can’t wait to see you in a couple of weeks!

Strawberry Rhubarb

From My Garden | Spinach + Radish

June 28, 2015

from my garden

So its begun…..the summer series ‘F R O M   M Y   G A R D E N’. And I am incredibly excited to announce my partnership with Mariah, Owner and Designer of Everything Golden. If you haven’t checked out her site, head there now, you will find a curated collection of vintage + handmade. Mariah and I will be working together crafting must have summer outfits and recipes to carry you through the best months of Montana!

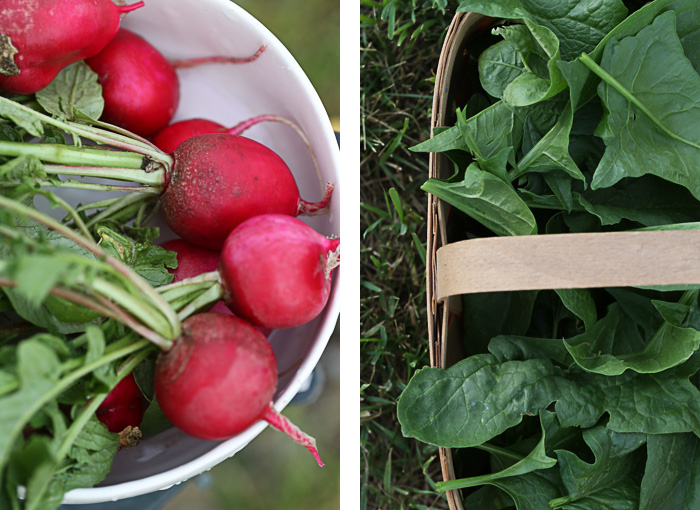
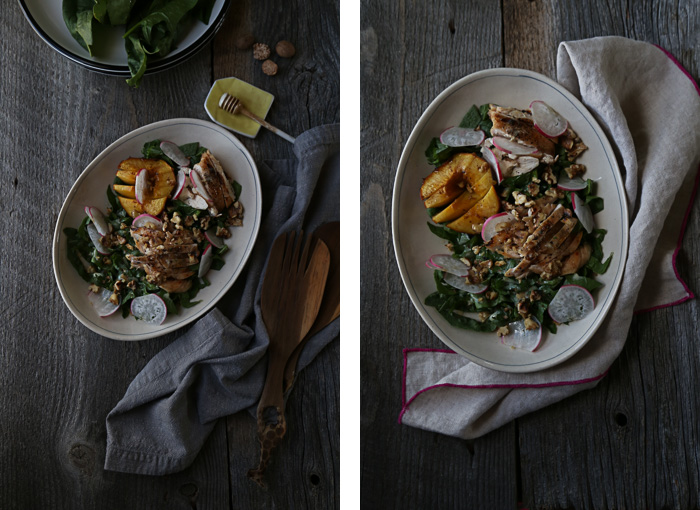
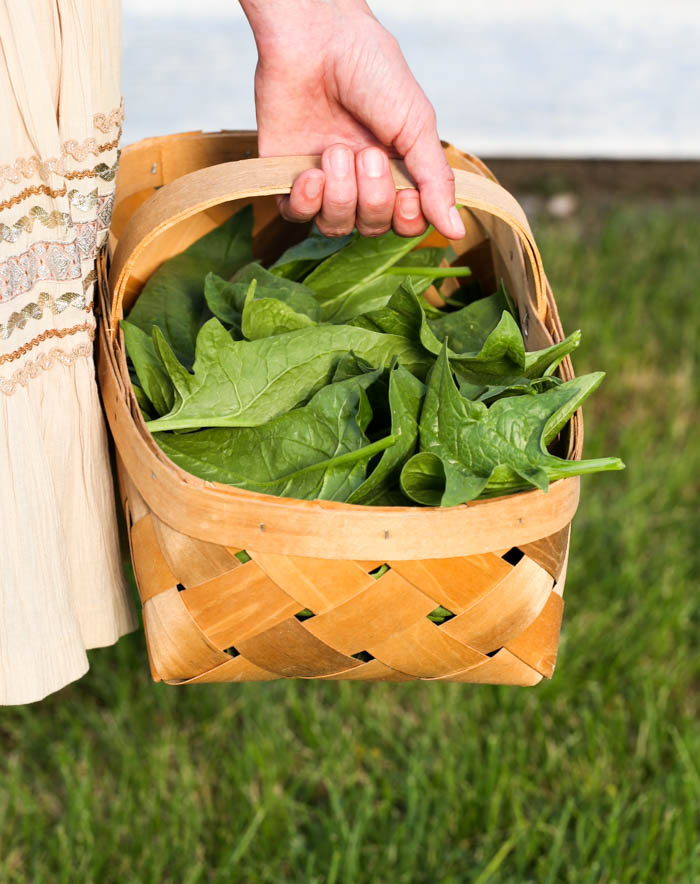
I am sharing a recipe for a grilled garden salad with my last picking of spinach and radishes. I enjoyed three cuttings of spinach. The first, big vibrant leaves that I managed to only salvage half of due to an afternoon hail storm that swept through the valley. The second was everything I could hope for. And the last harvest, equally as tasty as the prior, I also only enjoyed about half as I was competing with its schedule to seed. Even so, I still had too much spinach from all three harvests and shared bunches with family.

Last summer, I planted all my lettuce varieties at the same time, early May. So at this time last year, I was trying to not only eat spinach but also kale and a variety salad mix lettuces. So this summer I staggered my lettuce planting dates so I have a continuous supply of different leafy greens all summer long. My spinach is done, the mixed greens are next and the lacinto kale to follow.

I also learned last summer, that even though I enjoy radishes, I always seem to plant wayyyy too many. So this year, I only planted one row about 4 ft long and that was just enough.

Garden Salad

Everything Golden

In case you’re wondering; I grew Goliath Spinach from Gurney’s and Cherry Belle Radishes from Home Depot.

The silver and gold dress is for sale on the Mercantile here. It’s vintage, which means there’s only one, so get it before its gone!

Grilled Garden Salad | Spinach + Radishes // Serves 4

WHAT YOU’LL NEED FOR THE FIXINGS
2 yellow peaches
2 chicken breast halves
4 handfuls spinach
1/3 c. toasted walnuts
1 or 2 radishes

WHAT YOU’LL NEED FOR THE DRESSING
½ clove of garlic
1 tsp Dijon mustard
1 Tbs. agave nectar
¼ c. milk kefir or buttermilk
1/8 c. extra virgin olive oil
Pinch of ground cinnamon and nutmeg
Salt and pepper
Honey for drizzling

HOW TO MAKE IT
Heat grill to high. Drizzle the chicken breasts with olive and generously salt and pepper. Cut peaches into halves and brush with oil. Grill peaches until golden brown and just cooked through. Only takes about one or two minutes. Don’t take your eye off them! Grill chicken until cooked through. Depending on the heat of your grille this may toake 8 to 10 minutes. Allow peaches and chicken to rest before slicing.

In a small mixing bowl, grate the garlic and add mustard, agave, cinnamon and nutmeg, salt and pepper and milk kefir. Whisk in the olive oil and continue whisking until emulsified.

Rough slice the spinach and lightly toss with dressing. Top with sliced peaches and chicken, chopped walnuts, and thinly sliced radishes (I used a mandolin).

Drizzle with honey for a little extra sweetness! Nothing beats grilled summer peaches + honey!

Everything Golden Vintage Silver and Gold Dress

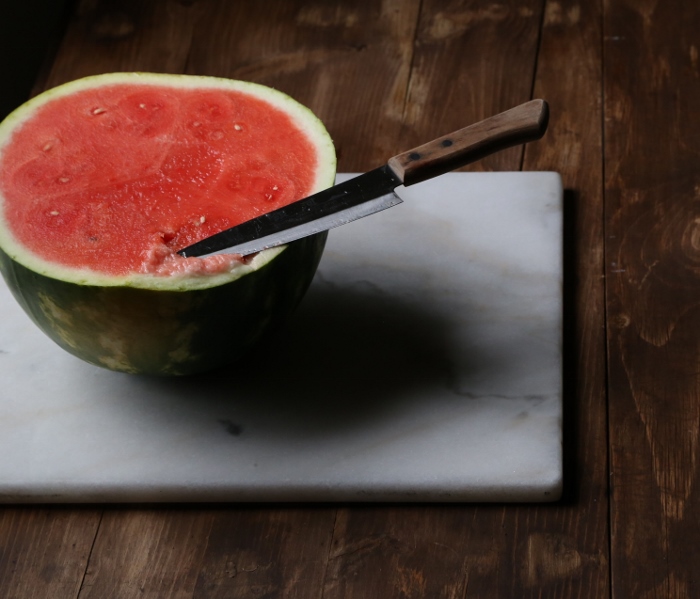
Watermelon + How to choose the right one

June 14, 2015

How to choose the right watermelon

watermelon

It’s amazing how far a watermelon will take you through the week when you don’t want to cook. And lately I haven’t wanted to cook. Luke has been gone during the week, the air is hot and there is always something to do or get done. It’s summertime, which means retire the oven and break open the watermelon!

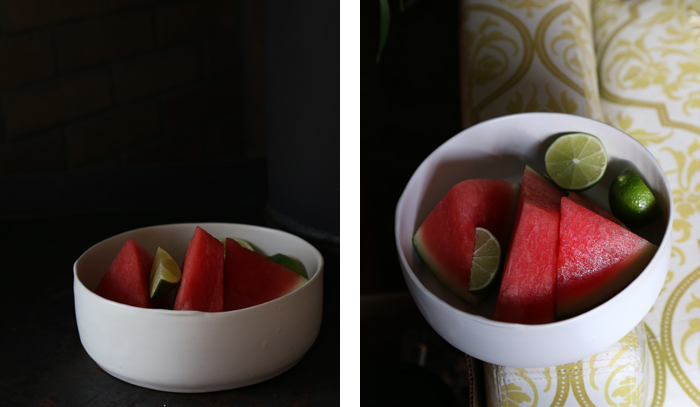
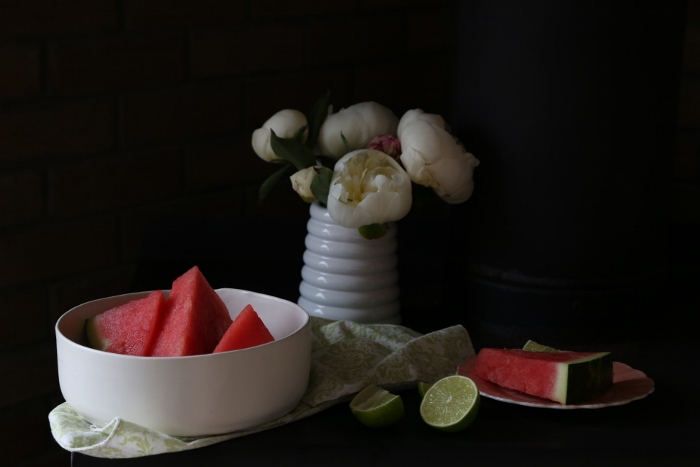
So this last week, I ate bowls and bowls of watermelon; for a 10 o’clock snack, for lunch, then for dinner and well if I needed dessert, it was watermelon. I like to squeeze fresh lime juice on my watermelon. Try it, I promise you’ll love it. I also like to cut equal sized cubes of watermelon, avocado and fresh mozzarella; arrange them beautifully like this, squeeze a little lime over the top, add some chopped basil and/or mint and sprinkle with salt and pepper. Yes, salt and pepper! Again, pretty much ate this for lunch every day last week and its probably on the menu this week too. Ha.

Now for the important stuff; How to choose the right watermelon. No, I don’t go around thumping and tapping every watermelon like a bongo drum! I do agree, the ‘sound test’ may give you some insight on a watermelon’s ripeness, but I don’t use it because I think it’s too subjective and well I think it looks silly! Below is my simple method.

Buy in Season….Don’t be tempted, May through September are the months.

Weight…………The ripest watermelons contain the most water and since watermelons are about 90 percent water, it should be incredibly heavvvvvvvvvy for its size.

Color……………Dark green and matte. Again, don’t be tempted, if they’re shiny, they’re not ripe.

Field Spot……..Don’t forget to look for the field spot. This is where the watermelon sat on the ground and ripened. It should be creamy yellow. If it’s white or nonexistent, put it back, it was picked too early.

Sap………………Check the ends of the watermelon (brown spots) for what looks like oozing sap. This step will weed out most your picks. There are always a couple oozers, but not many.

Shape…………..Obviously, don’t pick a watermelon with bumps, bruises, cuts, dents etc.

H A P P Y     H U N T I N G

Oh, and that reminds me. I went to my nieces dance performance last night and the younger kids (ages 3 to 6) were spotlighted with a name introduction and a question. So each kid would walk on stage, state his/her name and age in the microphone and answer the question; what do you want to be when you grow up. We are going to have a lot of doctors, vets and teachers but this one little boy, so adorable, said he wanted to be a hunter and a loving husband. Only in Montana, Ha!

Watermelon

Double-Chocolate Loaf

June 4, 2015

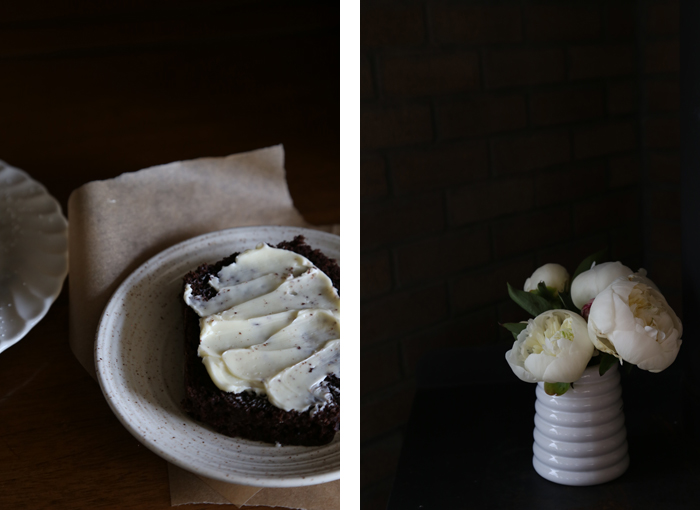
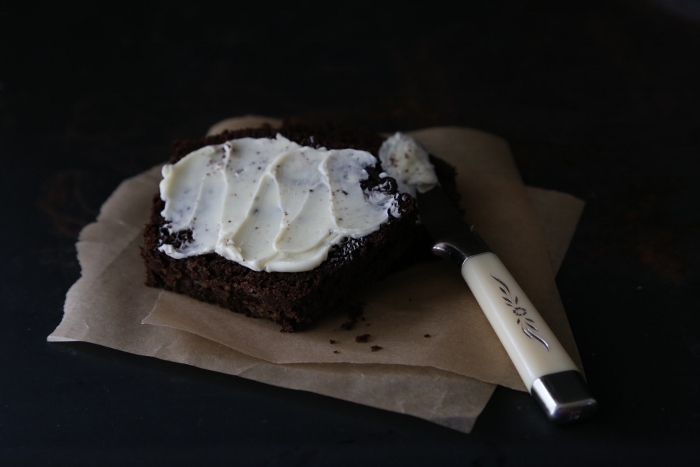
Double Chocolate Loaf

Double Chocolate Loaf + Butter

I am still working on my freezers. The garage freezer is pretty much done. Mostly beef and some jugs of raw apple cider from last Fall’s harvest. I am slowly working on the kitchen freezer. It’s mostly items suited for baking. Flours, nuts and seeds, egg whites, ganache and too many brown mushy bananas. I like to contribute this problem to my husband. He always writes bananas on the grocery list and I always buy what’s on the list. I don’t eat many bananas and I am starting to think he doesn’t either!

I tire of the traditional banana bread so I am always looking for new recipes and ideas to deplete my stash. So when I came across this recipe for a Double-Chocolate Loaf I thought it might be easily modified to incorporate ripe sugary bananas and less refined sugar. It’s very chocolaty, which I love, with a subtle taste of banana. The banana is not overpowering which I usually find to be the case.

Please don’t forget the chocolate chips like I did the last time I made the loaf. The chocolate chips are everything! It has to be DOUBLE-CHOCOLATE!

Looking forward to eating from the garden. I have already harvested radishes and spinach and look forward to sharing garden fresh recipes throughout the summer. The Gardens Series is coming soon!

Double-Chocolate Loaf / Adapted from Baked Explorations; Classic American Desserts Reinvented

WHAT YOU’LL NEED
3/4 c. firmly packed dark brown sugar
1 c. dark unsweetened cocoa powder
1 1/2 c. all-purpose flour + 1/4 c. for high altitude
1 1/2 tsp. baking soda
3/4 tsp. baking powder
1 tsp. salt
2 large eggs
1 large egg yolk
3/4 c. whole milk
1/2 c. vegetable oil
2 ripened bananas
1 tsp. vanilla extract
1 c. semi-sweet chocolate chips

WHAT TO DO
Preheat oven to 350 F. Spray a 9 in by 5 in loaf pan, dust with flour and knock out the excess.
In a stand mixer fitted with a paddle, add all the dry ingredients. Give a quick mix.
In a separate bowl, whisk together the wet ingredients.
Mash the bananas and add to the dry ingredients.
Turn the mixer to low and slowly stream the wet ingredients into the dry ingredients, mixing until just combined. Add chocolate chips and give a quick mix.
Pour the batter into the prepared pan and bake for 1 hour and 10 minutes, or until a toothpick inserted in the center of the loaf comes out clean.
Let the loaf cool in the pan for 15 minutes, then turn it out onto a wire rack to cool completely.
Serve with butter, peanut butter or both!

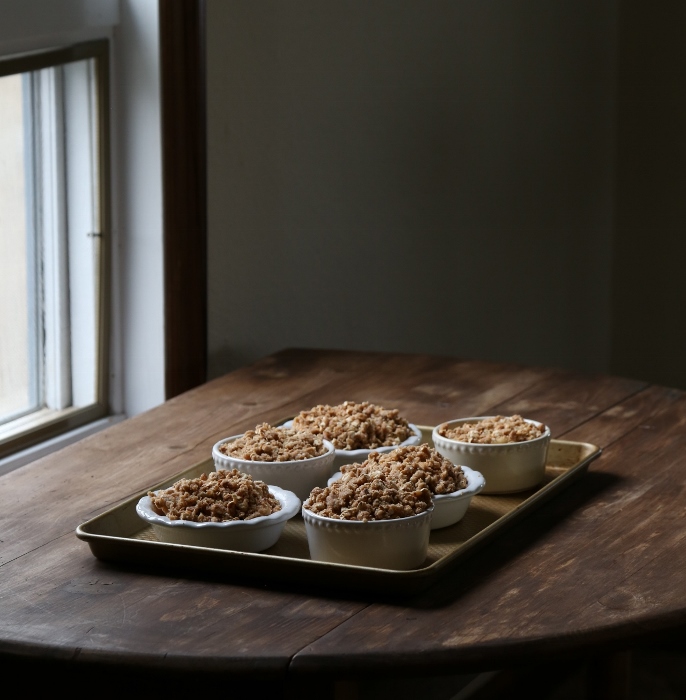
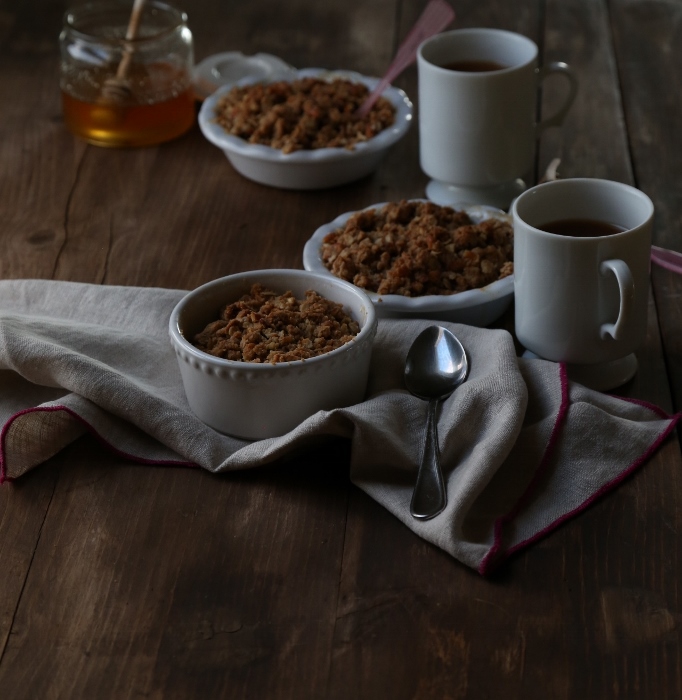
Mini Apple Crisps with a Salted Pretzel Topping

May 18, 2015

individual apple crisps

tea and treats

It has been wet and drizzly for about a week or so now. The perfect weather to accomplish a little spring cleaning and baking. So between ranch and construction work last week, I managed to reveal the bottom of my garage freezer. I found a couple jugs of fresh pressed apple cider, beet greens pesto, bone marrow broth, a bag of prepared rhubarb and a bag of apples from last year’s harvest along with blackened corn from the cob and some specialty meats. So with garden fresh ingredients nearly around the corner, I thought I better start making use of what’s left in the freezer. So here is a recipe for mini apple crisps with a salted pretzel topping. The pretzels add a lot of texture and crunch, which I really like in a crisp. I also like this recipe because it’s incredibly quick. You will be in and out of the kitchen in no time. Plus it’s great for entertaining because it can be made ahead of time and easily transported. My apples were frozen but don’t worry if you want to use fresh, the recipe is forgiving. Hope you can find the time to enjoy with a cup of tea while it’s still chilly outside!

Mini Apple Crisps with a Salted Pretzel Topping // Serves 6

WHAT YOU’LL NEED FOR THE TOPPING
1/3 c. rolled oats
1/2 c. all-purpose flour
1 1/2 c. mini salted pretzels
1/2 c. brown sugar
1 tsp cinnamon
Pinch of salt
1 stick (8 Tbs.) unsalted butter, chilled

WHAT YOU’LL NEED FOR THE FILLING
2 lb. frozen apples
1 Tbs granulated sugar
2 Tbs arrowroot
1 tsp cinnamon
1/2 lemon for juice
1 tsp vanilla extract

HOW TO MAKE IT

Preheat oven to 350 F.

Combine all the filling ingredients in a medium glass bowl and toss to combine. Spray six (6) ramekins and equally divide filling into ramekins. Depending on ramekin size, this may be plus or minus one ramekin.

In a mixing bowl with a paddle attachment, combine all the dry ingredients for the topping and mix until combined. Cube the butter and add to the dry ingredients. Mix until clumps together when squeezed with fingers.

Spread topping evenly over ramekins. Place on a baking sheet to avoid a bubbly sticky mess and bake for approximately 40 minutes. The filling should be bubbly and the topping should be golden brown. Let cool for at least 20 minutes before serving.

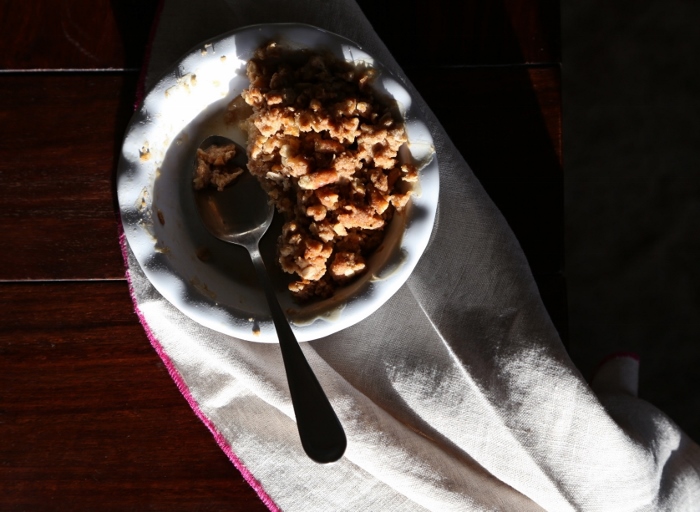
mini apple crisp

The mini ceramic pie dish shown in the above photo is from Home Goods but here is a similar looking one. I really like these dishes because they are fairly shallow and have more surface area for the delicious crunchy topping!

I am sure the rhubarb in my freezer will show up in this cheesecake.
Probably going to make my charred corn chowder soup this week. Thinking of adding a little smoked paprika to it.

Since I spend almost every day working outside, or at least some portion of the day. I have found it extremely important to protect my skin from the elements. I was recently turned on to a moisturizer and pressed powder by a friend. The moisturizer is SPF 30 and the pressed powder is SPF 20. I have never added protection with a pressed powder. Normally I use a sun screen and call it good. But a pressed powder is incredibly effective because it

The moisturizer is the Red Currant by Eminence Organic Skin Care. Eminence products are made with the finest natural ingredients using whole fruit pulps and botanical ingredients without chemical preservatives. The skin care line is organic and incredibly fresh.

The pressed powder is by Jane Iredale. Jane Iredale products have earned the Skin Cancer Foundation Seal of Recommendation. To earn this seal, a manufacturer must provide scientific data showing that its product sufficiently and safely aid in the prevention of sun-induced damage to the skin. It is a mineral powder made without talc, FD&C dyes, synthetic preservatives, parabens or synthetic fragrance. I am not one to wear much makeup but if it helps protect my skin then I am all for it!

I also recently purchased this sun hat from Everything Golden.

I think I am ready for the summer sun!

Spring + Gardening

May 4, 2015

Potato Frittata

I started gardening about 3 weeks ago. A neighbor and master gardener told me that Good Friday is a date worth noting for planting root and frost tolerant vegetables. I was about a week behind but still feeling ahead since last year I didn’t start working the ground until mid May. Veggies that can be started outside earlier than most are the root vegetables like potatoes, radishes, beets, carrots, turnips, kohlrabi and rutabaga with the addition of some frost tolerant veggies like peas, the cabbage-family and collards. So my first planting of the year included peas, radishes, beets, kale and spinach. I may have been on the cusp with my collards, so I am keeping my fingers crossed. The radishes were the first to germinate, followed by the peas and then beets. The weather has been favorable so I am hoping for a growing spurt.

I started my indoor seedlings about two weeks ago. This included an assortment of peppers, tomatoes, cucumbers and melons. The cucumbers germinated first and the melons and tomatoes followed suit shortly after and the pepper family has been little slow. I think they may need a little more sun and warmth than what my home may be providing. I will keep you updated. I plan to transplant these starters outside around the end of May or early June. Basically once there is no chance of a frost, which in Montana, is a really hard date to predict!

I ordered all my seeds from Gurney’s and Rare Seeds and purchased some packets from Home Depot. If you haven’t flipped through a Rare Seeds catalog, I highly recommend you request a free catalog. It is a 200+ page color catalog that is sure to inspire you in the garden. Rare Seeds also pledges as a company that they do not knowingly buy or sell genetically engineered seeds or plants.

Goliath Spinach, Gurney’s
Black Magic Kale, Gurney’s
Chioggia and Golden Beets, Rare Seeds
Cherry Belle Radish, Home Depot
Sugar Ann Snap Pea, can’t remember where I purchased this seed packet. It was leftover from a year or two ago.

Heirloom Rainbow Blend, Gurney’s
Chocolate Cherry Tomato, Gurney’s (of favorite of mine)
Habanero Hot Pepper Blend, Home Depot
Big Thai Hot Pepper, Home Depot
Tangerine Sweet Pepper, Home Depot
Cucumber Muncher, Home Depot
Sugar Baby Watermelon, can’t remember where I purchased this seed packet. It was leftover from a year or two ago.

Note: It is important to store any leftover seeds in a cool, dry and dark place. I usually place them in my fridge but a cool basement would also work. The seeds must be dry so if you are concerned add a small packet of silica gel to the container or any other moisture absorbent like powdered milk or rice. Certain seeds have a longer shelf life than others. For example, corn and onions may only last 1 or 2 years at best while beans, carrots, lettuce, peas and radishes may keep in your fridge for multiple years. Below is a list of common vegetables and their respective shelf life.

5+ yrs…..Beets, cucumbers, tomatoes.
3 to 5 yrs…..Beans, peas, cabbage, broccoli, cauliflower, Brussels sprouts, kale, kohlrabi, carrots, lettuce, okra, peppers, radishes, spinach, turnips and watermelon.
1 to 2 yrs…..Sweet corn, leeks, onions, parsnips and parsley.

Above are some gardening essential from the Mercantile. Click to shop.

I used this boot tray from Target to hold my indoor starters so I wouldn’t ruin my wooden table when watering.
DIY chalkboard seed makers here or just buy these simple markers for $6 or these copper markets for $10.
These watering cans are worth showing off.
Dreaming of summer picnics with this handwoven tote.
Saving for this porcelain berry bowl.
Still looking for a great pair of gardening gloves that do not make my hands stink.
Frittata

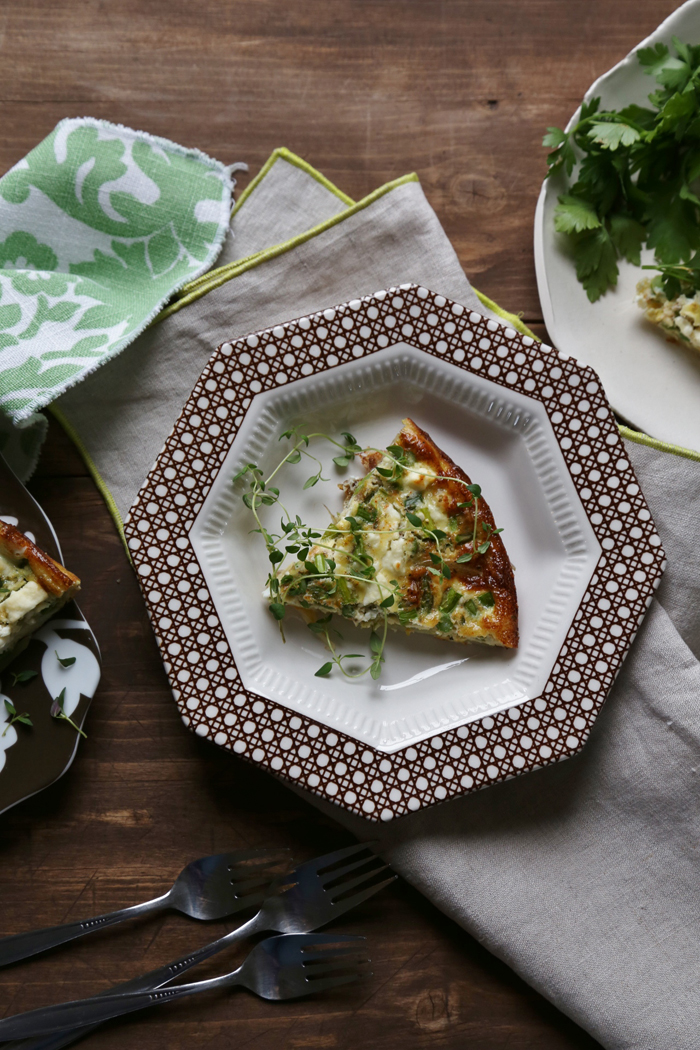
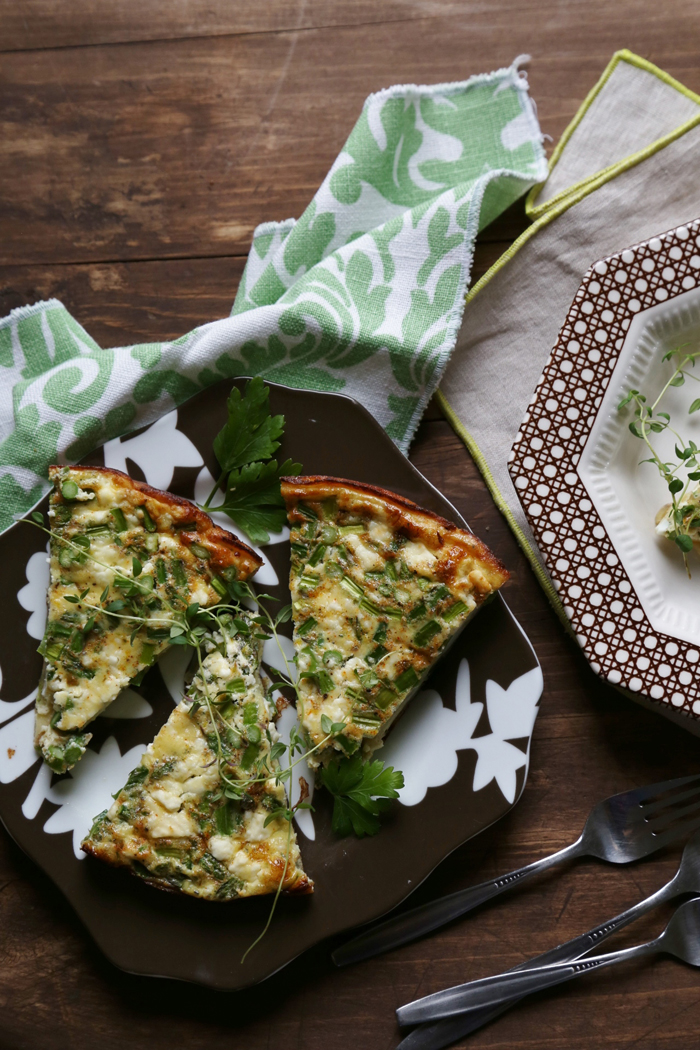
Baked Potato Frittata

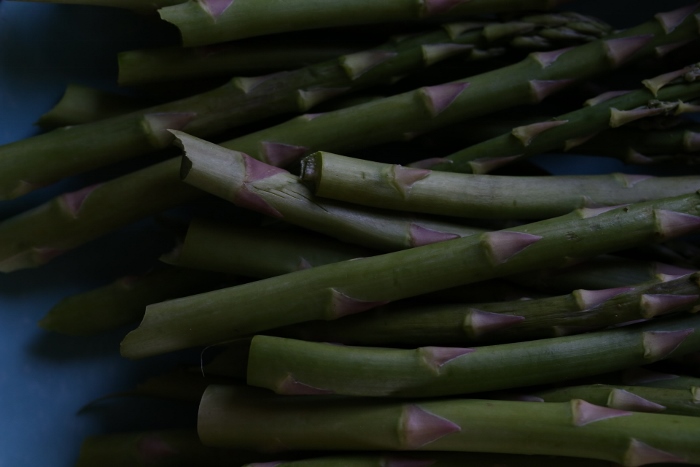
I also thought I would share another asparagus recipe. This is my go to when I have a baked potato leftover from the night before. It might be a good addition to your Mother’s Day brunch menu!

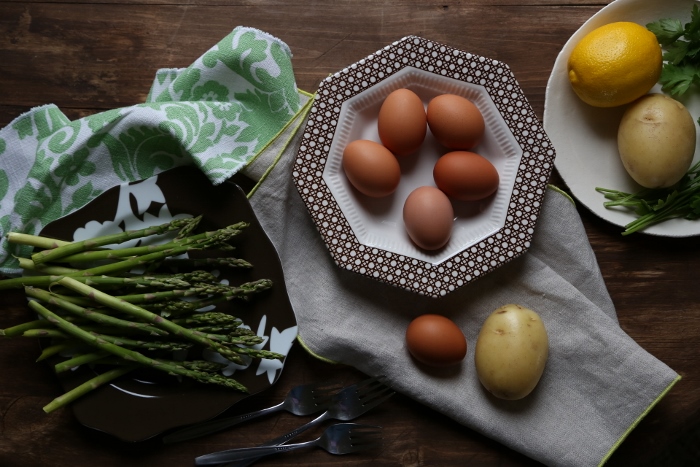
Baked Potato Frittata with Asparagus & Lemon // Serves 2 or 3 as a meal or 8 to 10 as a side

6 eggs
1/2 c. whole milk
1/4 tsp. cayenne pepper
Zest of 1 lemon
salt and pepper
Handful of asparagus spears (9 oz. or 25 skinny spears)
A baked potato from the night before
1/3 c. feta

Preheat broiler.

In a glass mixing bowl, whisk together eggs, whole milk, cayenne pepper, lemon zest and salt and pepper. Set aside.
Wash and snap off ends of asparagus spears. Cut into 1/4 inch pieces and add to egg mixture. Thinly slice potato.
Spray or butter a 10-inch nonstick skillet. Layer potato slices on bottom. Pour egg mixture over the top. On medium heat, cook until egg starts to set and you can run a spatula around the edge of skillet, about 5 minutes.
Sprinkle the top with feta and broil until the top is set and golden brown, about 10 minutes. Let the frittata stand 2 minutes. Using a rubber spatula, loosen the frittata from the sillet and slide onto a plate or cutting board.

Note: If you do not have a leftover baked potato you can use one or two Yukon Gold potatoes. You will need to soften the potatoes by parboiling or sauteing prior to layering the slices on the bottom of the pan. If you choose to saute in olive oil, be sure to just soften the potatoes not fry. You don’t want crispy potatoes. The recipe turns out equally delicious but this step does add a little time to otherwise an incredibly quick recipe.
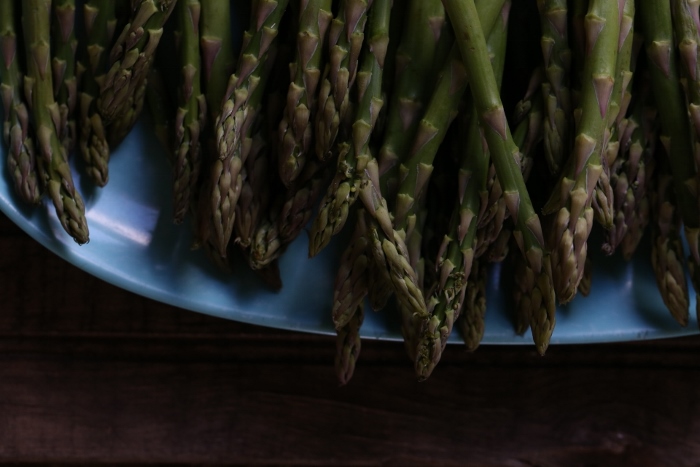
Asparagus

Spring + Salad

April 24, 2015

I think Spring has finally sprung at the Cooper Hereford Ranch.

We finished seeding the spring wheat last week. The pastures are showing signs of life; hopefully this means we can stop feeding hay in the next couple of weeks if Mother Nature delivers some moisture. We are busy servicing pivots and wheel lines and burning ditch in preparation for the irrigation season. And, I almost forgot, since it feels like a decade ago, that we are just about finished breeding all the heifers and cows. The process started in mid March after the Annual Bull Sale. Whew, it’s time consuming.

If you enjoy the ranch updates, I typically post more photographs on Instagram. Follow me here if you want to get your daily dose of ranch life!

Cooper Hereford Ranch Mountains

Cooper Hereford Ranch Sunrise

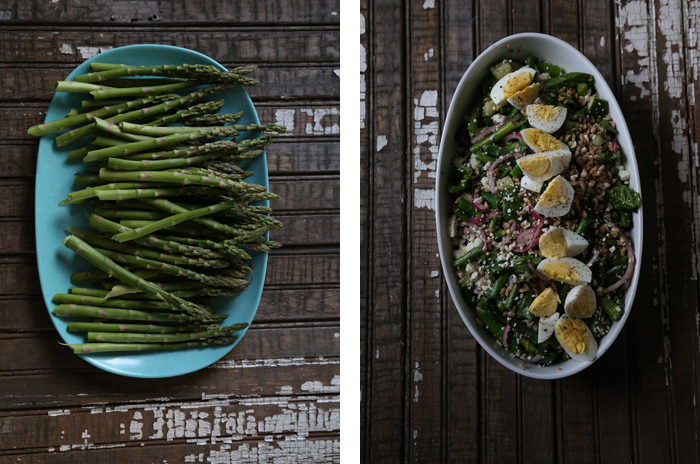
Since it’s officially Spring, that means there is an abundance of asparagus spears available at the markets. Asparagus is one of my favorite vegetables and I especially like to incorporate it into salads. I made a side salad using asparagus for Easter dinner and since then I have made it a couple different ways.

My sister’s are always requesting more salad recipes. I make salads often but find myself rarely writing the recipes on paper. I am typically a very detailed and precise person but when it comes to salads the recipes usually sound something like this; a lot of asparagus, a couple handfuls of spinach, a splash of extra virgin olive oil and white balsamic vinegar and a sprinkle of feta. Not the easiest recipe to follow, unless of course that is exactly how you like to cook….a little of this and a little of that! So this recipe, or lack of, is my way of encouraging you to color outside the lines. So I am merely providing you flavors and textures that compliment each other and I am asking you to  add as little or as much as you like until the salad looks and tastes just right. Who really likes to follow a recipe anyways. Don’t we just want to be inspired?

Asparagus

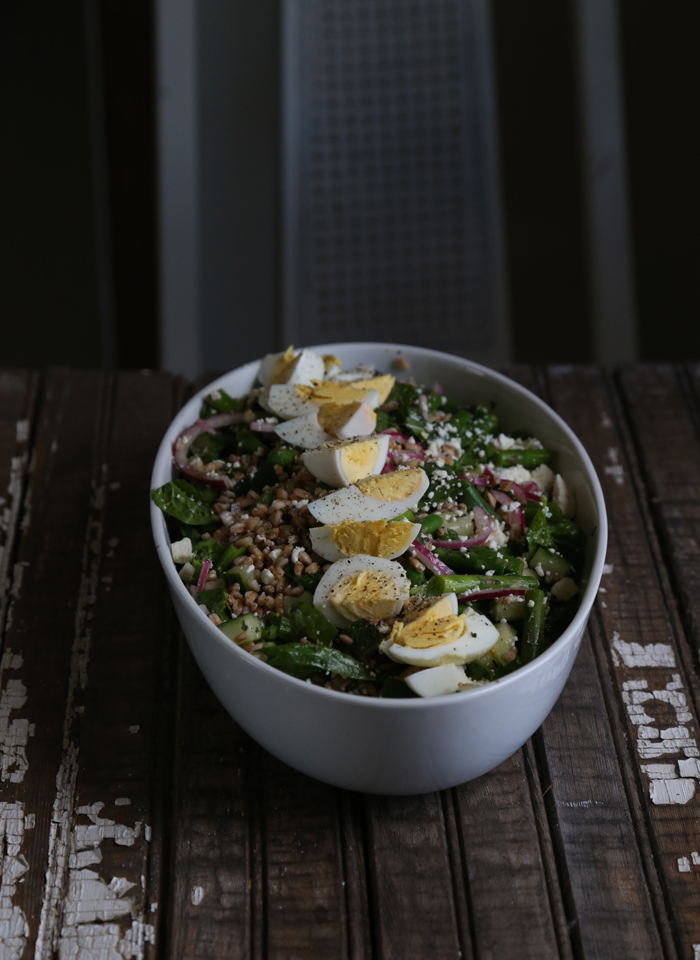
Spring Salad

WHAT YOU’LL NEED
A lot Asparagus
One pickled red onion (see below)
A couple handfuls of spinach
One cucumber, seeded and cubed
As much hard boiled egg as you like
Enough feta
Enough crispy Prosciutto Bits (see below)
A couple cups of cooked Farro

THE BASICS
The first couple of times I made this salad I simply tossed the asparagus, pickled red onion, spinach and cucumber with equal parts of quality extra virgin olive oil, white balsamic vinegar and salt and pepper to taste. Then I garnished with quartered hard boiled eggs, feta and crispy prosciutto bits. It doesn’t get any easier!

A later version included cooked farro in lieu of the crispy prosciutto bits. If you haven’t tried farro yet this salad is a great introduction to the grain. Not only is it delicious in salads but I also like to use it in soups and baked pasta dishes. I buy the quick cooking farro that only takes about 10 minutes on the stove top. I tossed this salad with a four herb vinaigrette. Basically I whisked together extra virgin olive oil, lemon juice and zest, dijon mustard, garlic and finely chopped rosemary, tarragon, thyme and oregano. Very fresh and clean, the essence of Spring.

Pickled red onion is delicious and something I eat often on tacos, burgers and tartines. Something about the tangy bite from the vinegar that I just can’t get enough of.
To make, it’s quite simple. In a bowl, add 1 c. of vinegar and 2 Tbs granulated sugar. Whisk until sugar dissolves. Add 1 tsp. whole mustard seeds and salt and pepper. Add one thinly sliced red onion to the pickling liquid and refrigerate for at least 1 hour.

Prosciutto bits are equally delicious and can be used to garnish just about anything. It gives a dish that salty crunch that everyone loves. To make, set the oven to broil. Spray a baking sheet and lay a couple strips of prosciutto on the greased baking sheet and broil for about 3 to 5 minutes until crispy. Transfer prosciutto to a plate lined with paper towels. Crumble.

Spring Salad

Salad with asparagus

WHAT”S HAPPENING
Looking forward to learning from Jody Engstrom with My Nutrition Living next Tuesday April 28th at Bridger Kitchens. She is teaching her dairy and non-diary ferments class. Think yogurt and beyond!
If you are local to Bozeman, join me at the Emerson Cultural Center on May 7th for this event.
Recently purchased these jeans and this swimsuit. Tip: Recycle your old jeans at Madewell stores and you’ll get $20 off a a new pair.
Don’t forget about the Derby. Check out this L.A. based hat designer here and make mint juleps with this recipe and use these pewter cups.

Honey Vanilla Buttercream

April 11, 2015

Cake

My sister passed along a cookbook a couple months ago. The book is called Baked Explorations < Classic American Desserts Reinvented >. Author’s Matt Lewis and Renato Poliafito  take our country’s treasured treats and reinvent the recipes with their signature tongue-in-cheek style. Think Whoopie Pies, Monkey Bread, Peanut Butter and Jelly Bars, the Sweet and Salty Brownie and Mississippi Mud Pie AKA Coffee Ice Cream Tart, just to name a few.  This is the type of cookbook that inspires me to make  change to the ‘old reliable’; to try substituting, adding or removing ingredients without compromising the familiar and comfortable flavors known to a recipe. After all, change is good!
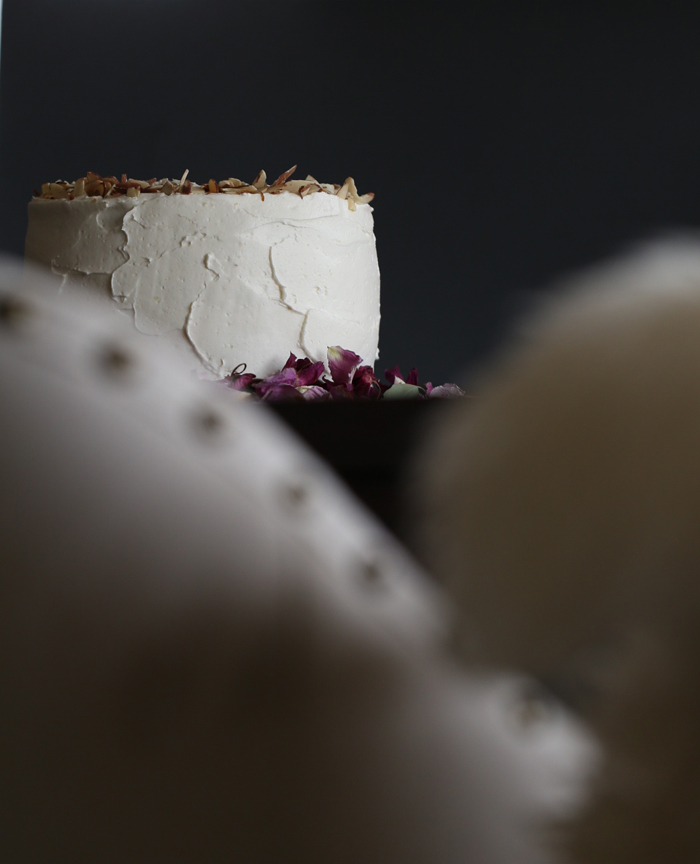
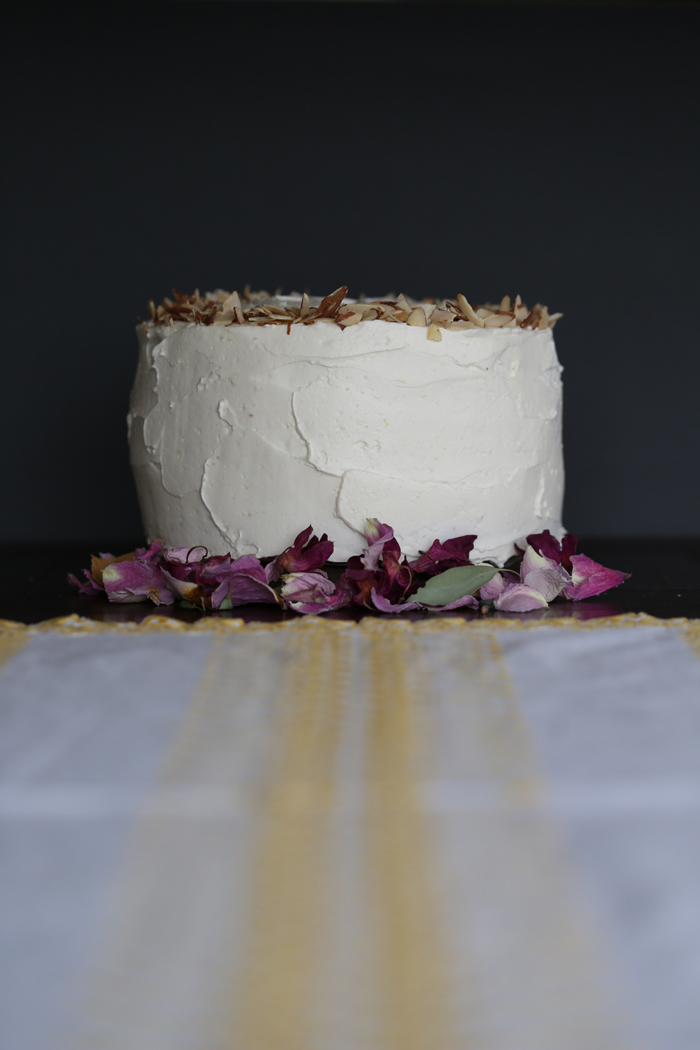
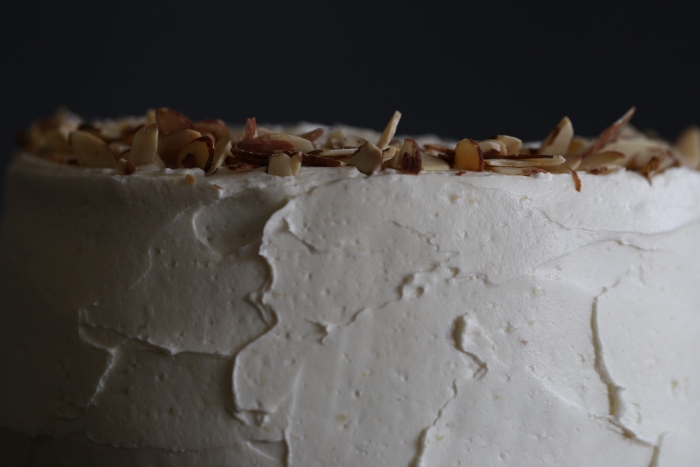
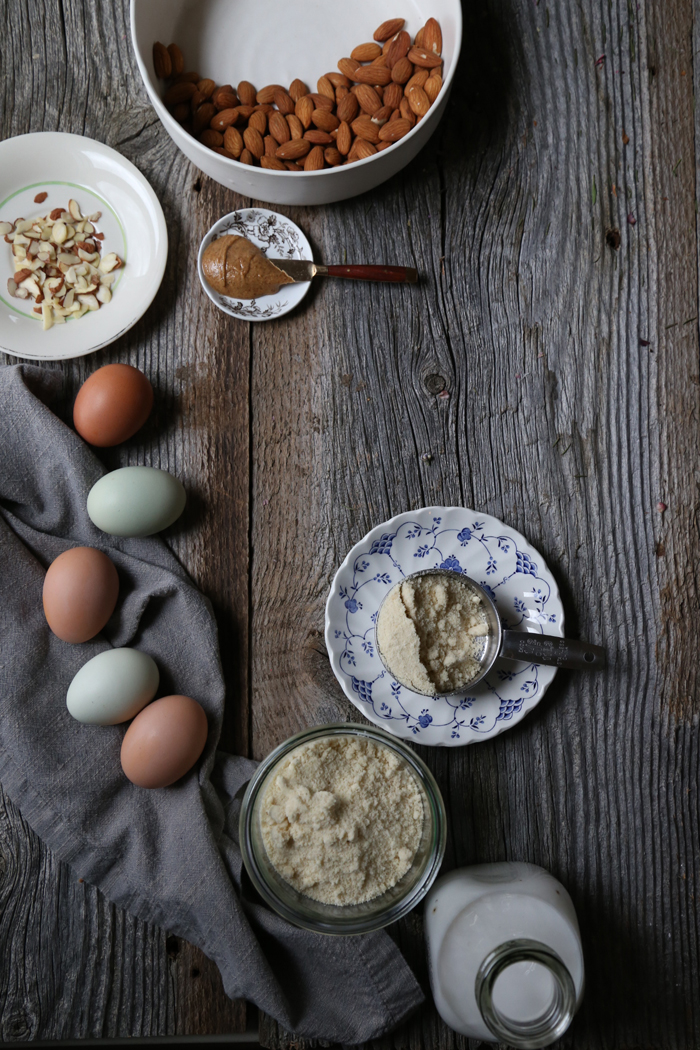
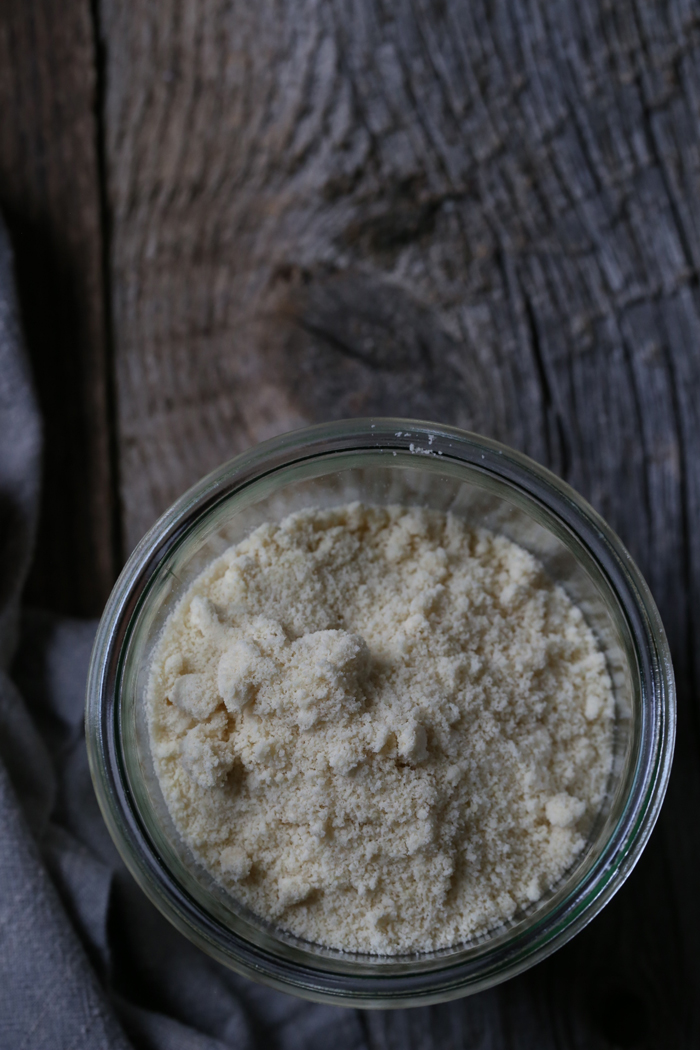
A couple weeks ago a friend asked me if I would make a cake for her daughter’s baptism. I often make cakes for family and friends so I was obviously happy to contribute and be a part of her special day. I decided to try the Aunt Sassy Cake from the aforementioned cookbook. The original recipe is a white based cake with pistachio nuts but I modified it slightly substituting almonds for the pistachio nuts and also a small amount of almond flour for all-purpose. I thought almonds might be more appealing to a variety of palettes even though I am a big pistachio fan. The cake is delicious but the real shining star is the Honey Vanilla Buttercream frosting. It’s light and creamy and not too sugary. I think this is a recipe to file amongst your white cakes!

Almonds

White Cake

Honey Vanilla Buttercream / yields enough for one 8-inch, 3 layer cake

Recipe from Baked Explorations

1 1/2 c. sugar
1/3 c. all-purpose flour
1 1/2 c. whole milk
1/3 c. heavy cream
1 1/2 c. (3 sticks) unsalted butter, soft but cool, cut into small pieces
1 tsp. pure vanilla extract
3 Tbs. honey

In a medium, heavy-bottomed saucepan, whisk the sugar and flour together. Add the milk and cream and cook over medium heat, whisking occasionally, until the mixture comes to a boil and has thickened, about 10 to 15 minutes.

Transfer the mixture to the bowl of a standing mixer fitted with the paddle attachment. Beat on high speed until cool (this takes at least 7 to 9 minutes of mixing; you can speed up the process by pressing bags of frozen berries or corn against the sides and bottom of the mixing bowl). Reduce the speed to low and add the butter; mix until thoroughly incorporated. Increase the speed to medium-high and beat until the frosting is light and fluffy, 1 to 2 minutes.

Add the vanilla and honey and continue mixing until combined. If the frosting is too soft, put the bowl in the refrigerator to chill slightly, then beat again until it is the proper consistency. If the frosting is too firm, set the bowl over a pot simmering water and beat with a wooden spoon until it is the proper consistency.

Note: For me the frosting was the right consistency, I did not have to cool or warm it like mentioned in last step.

Almonds

Take a peek at my photo album from recent trip to Tulum and Valladolid, Mexico.
If you want / need a new cake stand, I think this one could be dressed up or down.
Want to get creative and eat cake, sift through my piece of cake board on pinterest.
April showers bring May flowers; you need to follow Swallow and Damsons instagram account if you don’t already.
I really need to find these boots for summer.
Check out new items on the Mercantile.

Amond Joy

Almond Flour

Farm to Table Field Dinner

July 26, 2014

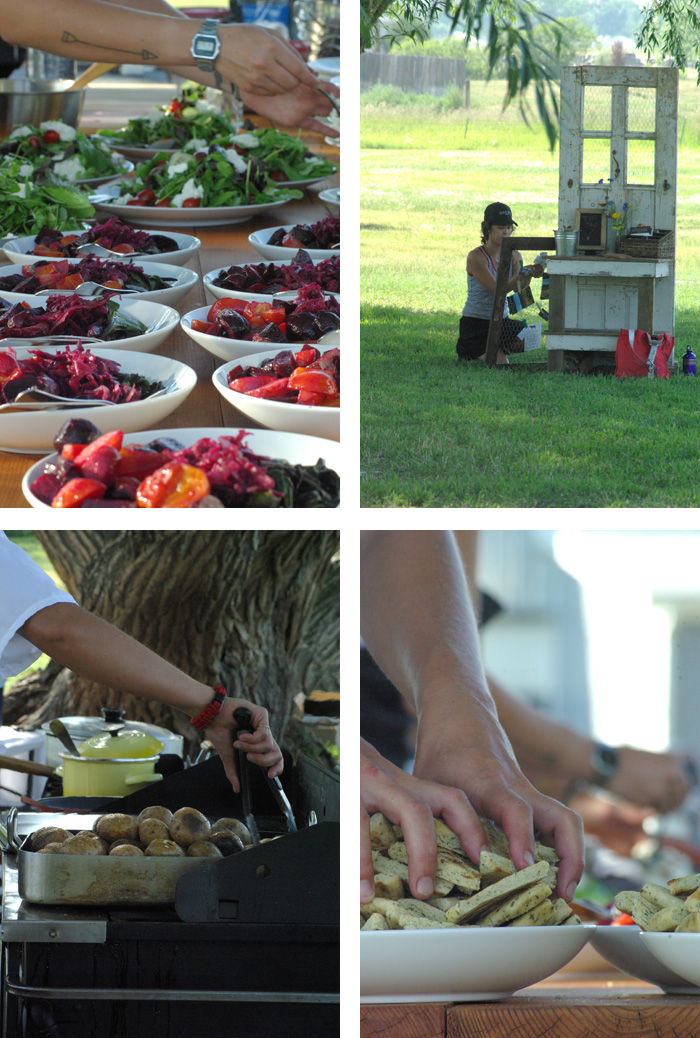
FoodLast Sunday was the Farm to Table Field Dinner! We sold out a week in advance and with limited seating unfortunately had to turn people away the week of. It was my first time attending a field dinner, both as a guest and host. It was also my first time collaborating with Chef Melissa Harrison, founder of Seasonal Montana. My focus was to create an environment that aesthetically and gastronomically defined the Farm to Table concept. I wanted guests to experience fresh local food in an agricultural setting. And with the help of Melissa and her staff, I think we accomplished just that. Of course I might be a little biased so perhaps our guests can offer a better review! READ MORE

Copyright © 2024 Katie Sue Cooper. Theme by Maiden Sites